Restore your Super Nintendo

Restoring your Super Nintendo
This instructable will go through the steps to make an SNES act like it was new.
Old consoles tend to have some issues, but most commonly, these can be resolved by simply cleaning the contacts and inside of the casing.
I will be posting restoration projects for several retro systems and accessories over the next few days, they are very similar projects because they function the same way.
Items needed:
SNES
Rubbing alcohol
Q-tips
Compressed air
Philips screwdriver
Large 4.5mm Nintendo bit (there are 2 sizes, they can be bought on ebay for about $3)
Step 1: Opening the Case
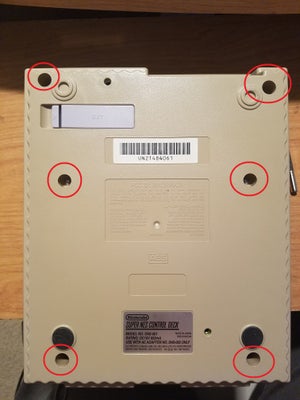
On the bottom of the console, there are 6 Nintendo screws. Remove them with the Nintendo game bit, and then remove the entire top half of the console.
The top half rarely needs to be cleaned, but if the buttons are sticky, simply slide them out and clean them with the alcohol.
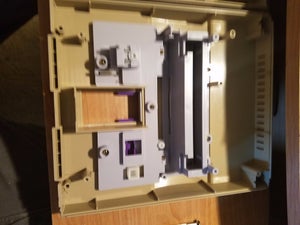
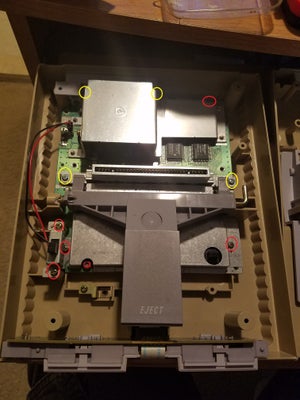
The bottom half of the console is where all of the electronic lie.
Be aware that there are 2 size screws here, DO NOT MIX THEM UP. The screws in red circles are the small ones, and the screws in yellow circles are the longer silver ones. All can be removed with a Philips screwdriver.
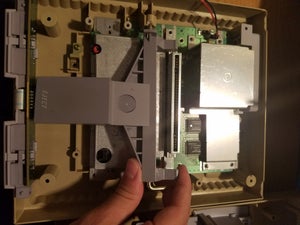
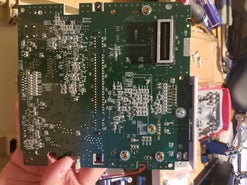
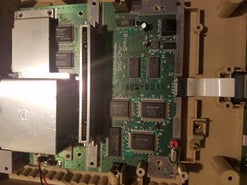
One they are all removed, the motherboard can be removed from the case, and the shielding can be removed from the board.
Step 2: Cleaning
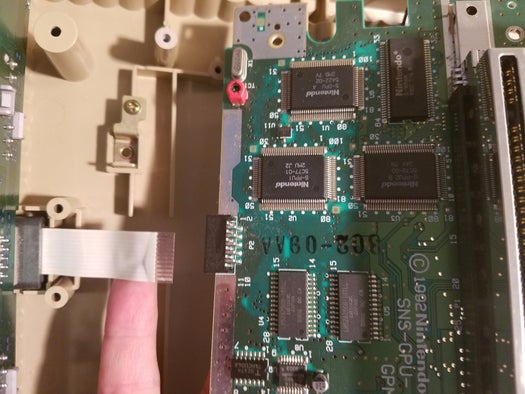
Before you can clean the board, the little ribbon cable that leads from the controller port to the board must be disconnected. This slides easily from the board, just be sure to remove it in a straight line to avoid bending it. Once bent, it can be difficult to place back in when you are done.
The game eject button is controlled by a long metal rod attached to a spring. Carefully slide the rod as far as possible to the right, and the spring should slide right out. Replacing this rod when you are done is easily the most annoying part of this entire cleanup.
At this point, you can clean the dust out with compressed air, and then do detailed cleaning with the alcohol. It is pretty amazing what buildup can occur over the years. When I opened mine, there was actually a dead bug that must have crawled in one of the vents.
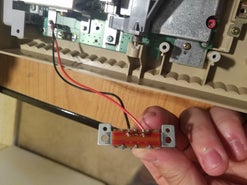
Be especially sure to clean the power switch, lots of crud can accumulate by the solder points.
Once you are all done, just put everything back in reverse order.
Good luck!

